If you want to jump solo and work towards becoming a licensed skydiver, you’ve got two options.
You can train through a static line course, or through an accelerated free fall (AFF) course.
I personally earned my licence through a static line course, so I figured I’d share my experience with any would-be skydiving students! In this article I’ve covered what it’s like to do a static line skydiving course, and the various steps needed to achieve your licence.
Ready? Then let’s dive in!
Note: The stages below are from my own experience jumping static line in the UK. While these progressions are generally the same throughout any dropzone in the world, other courses and locations may vary.
The Steps to Static Line Skydiving (My Experience)
Alright, so let’s walk through the various steps to becoming licensed through static line skydiving.
Step 1: Training
As you can imagine, you need just a tiny bit of training before you’re ready to jump out of a plane yourself! A static line training course lasts a full day – covering absolutely everything you need to know. Including:
- How to perform an ‘arch’
- Your emergency procedures
- How to spot a bad canopy
- Flight paths
- How to fly a canopy
- How to land
- The background/physics of skydiving and paragliding.

Through the course your instructor will make sure you understand all the aspects you need to know. Anyone who isn’t able to grasp the concepts fully won’t be allowed to ‘graduate’ onto jumping. You’ll only be allowed into a plane once they’re confident you can handle yourself!
My experience
I went on the course with a few friends, and it was a great introduction to the little skydiving community at our airfield. The course is detailed enough to take your mind off the nerves of jumping, while being mostly straightforward to follow.
Step 2: Static Line Jumps!
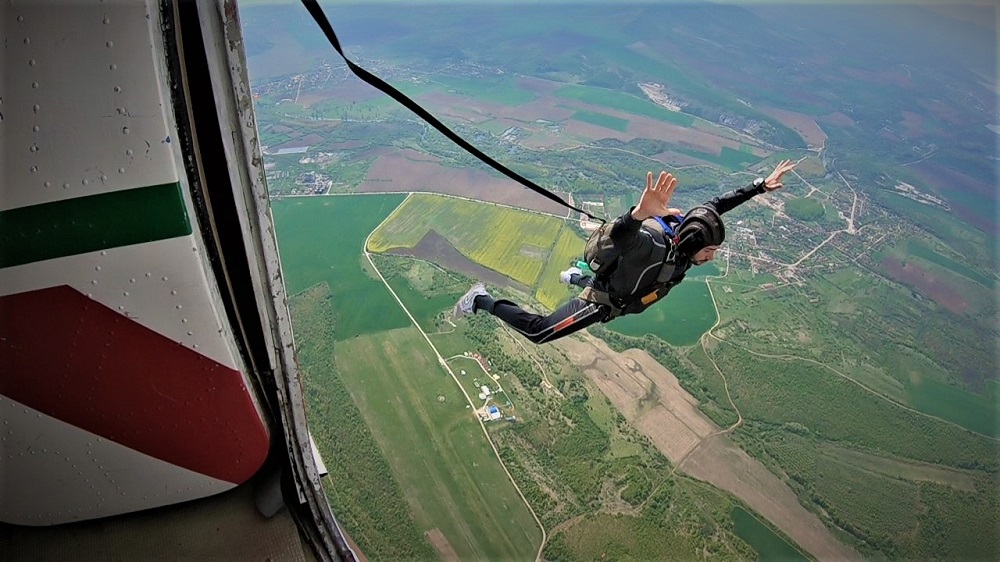
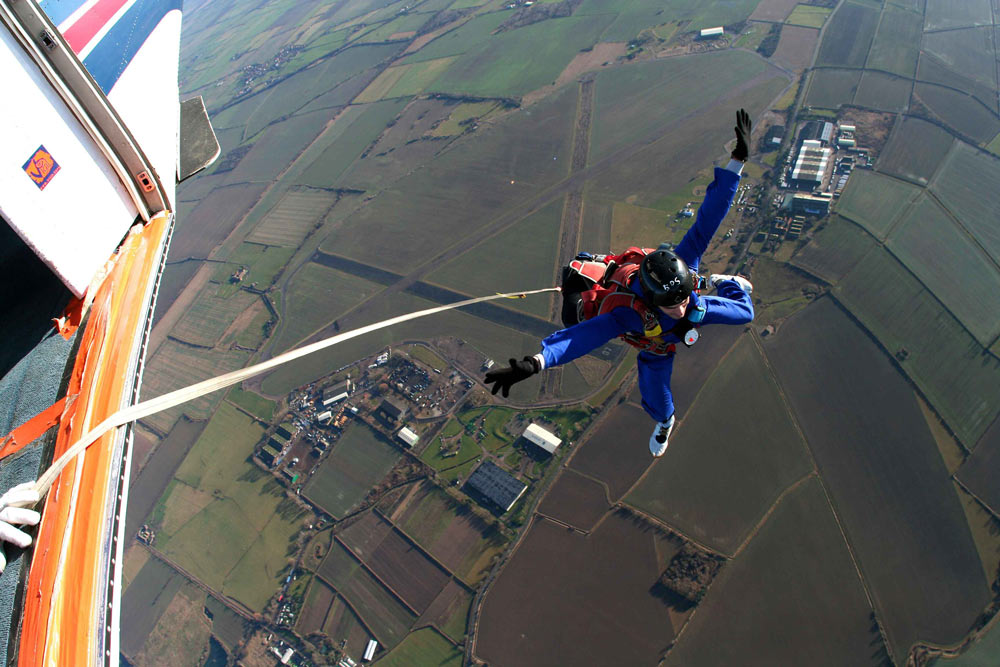
Once you’re ready, your first solo skydives are static line jumps. These are basically where a line is attached between your parachute and the plane – so as soon as you exit, your parachute opens.

You need to complete 2 static line jumps to pass these. They’re mostly about getting you a bit of experience in the air, before you actually need to do anything!
My experience
Read my VERY detailed account on what skydiving for the first time is like here.
Step 3: Dummy Pulls
Once you’ve done your first two static line jumps, you can move on to actually doing something in the air. In this case, dummy pulls!
The idea here is to get you ready for real freefall (where you pull the parachute cord), so you’re simply doing static line jumps while pulling a ‘fake’ parachute cord.
You need 3 good dummy pull jumps before they let you take a freefall kit up in the plane.
My experience
Dummy pulls are one of the harder parts of the whole course! As a newbie, it can be a little tricky to overcome the raw adrenaline and get yourself into a good position to pull the cord. That said, it’s great to have something to focus on other than ‘oh my god I’m jumping out a plane again!’
Step 4: Freefall Jumps
Next up, freefall! This is where you’re given your own freefall kit that only opens when you pull the parachute ripcord..
You jump out the plane, and count to a given delay depending on what jump you’re on. Then pull that cord and pray to the heavens that the parachute pops out (it always does). These jumps build up one after the other, and this is where you’re suddenly becoming a real skydiver.
The freefall delay jumps are:
- First freefall: 3 second delay (count to 3 and pull)
- 5 second delay
- 10 second delay (hitting terminal velocity!)
- 15 second delay
- 15 second delay + alti (paying attention to the altimeter)
- Pull on alti (pulling according to altitude)
Pull on alti is the final version, where you’re not counting time before you pull. Instead, you pay attention to the altimeter that’s strapped to your wrist. Once you hit the correct altitude (4,000ft), that’s when you pull the cord.
My experience
Well first off, freefall is super scary! It’s still the same concept, but because it’s you pulling the cord, it’s a whole other level!
However, I’d say that my first ‘REAL’ skydive was my 10-second delay.
Personally, that’s when I truly felt like a skydiver. It’s when the speed reeallly builds up on you, and you properly start to feel like a superhero in the sky. I probably loved that one even more than the first jump!
Step 5: Maneuvers
Now we’re hitting the advanced part of the course.
You’ve got some jumps under your belt, you’re able to handle freefall and pull according to altitude. This is where they show you how to actually control yourself while hurtling through the sky. It’s pretty cool. I’ll go through the maneuvers one by one:
Maneuver 1: Turns
First up, we’ve got turns. This is simply where you shift the angle of your arms slightly, and turn yourself around. It’s like slightly turning a steering wheel. It teaches you how to properly balance yourself in the air, and means you’ve got a bit of control over the views you’re taking in!
Maneuver 2: Unstable Exit
This is everyone’s favorite. Basically, you’re told to curl up into a ball and pushed out of the plane! You need to hold that ball as you slowly count to 10 seconds, then release and regain control (by arching like crazy).
I can only describe being a spinning ball as seeing the sky, then the earth, then the blue sky, then the brown earth, blue, brown, blue brown blue brown bluebrownbluebornoeurb… until you pop out of it and regain control – feeling like a badass.
Maneuver 3: Dive Exit
I’m not entirely sure of the purpose behind this one, but it’s pretty fun. You simply dive out of the plane! Instead of being in a stable position, you jump out like a diver, and then regain control. It’s not easy to do it gracefully, but the stability part is pretty easy after your unstable exit.
Maneuver 4: Backloops
Next on the static line recipe are backloops. By quickly tucking your knees and arms into your chest when freefalling, you’ll go into a backflip! (Or ‘backloop’). Showing your instructor three of these (it only takes a second to do it then release back into an arch) will grant you access to the superman jumps.
Maneuver 5: Tracking
Tracking is what makes you feel like you’re superman. Instead of falling in a wide arch, you tuck all your limbs in and point yourself forward like a missile. This makes you actually fly forward! It’s super easy, but incredibly cool.
Maneuver 6: Track Turns
The last static line maneuver is track turns. These let you turn slightly when tracking, by angling your body and head slightly to one direction. To be honest they’re a pretty easy adaptation onto tracking, and quite a natural progression.
Once you pass track turns, it’s on to the final test…
Step 6: The Big Test! Category 8 Jump.
The final jump is what’s known as a ‘Category 8’ jump – based on the various categories these jumps are defined as. In short, it’s a “put-it-all-together” style test.
You need to jump out the plane, and:
- Demonstrate 360o turns in both directions
- Perform a backloop
- Track and turn
- Pop your chute and fly it home
It’s a little nerve-wracking but not too hard after all that practice! The real thrill – even more than the skydive – is knowing you’ll be getting your skydiving licence once you’re jumps completed.
It’s literally like passing your driving test. Now you can jump whenever, wherever, and however you like!
My immediate reaction was to get back up in a plane with some of my friends. We all jumped one after the other. I felt so free, twisting and turning however I wanted in the sky. It also happened to be my first time going through a cloud! Getting the licence is an incredible feeling that gives you so much confidence in yourself.
What Happens If Your Training Runs Out?
I wanted to quickly to touch on this topic, as not everything in life goes smoothly.
You may take the training, but find you need to move away for a year. Or you just can’t get the time (or weather) to jump. In that case, you need shorter ‘refreshers’ on the aspects of your next jump. However, if you’re away for an extended period (3+ months), you do need to take the whole one-day training course again.
How Much Does A Static Line Course Cost?
The best place to get an answer to this is at your local airfield! However, generally a static line training course (first jump included) costs between $175-$325 dollars. After that, your training jumps can be anywhere between $80-180 per jump (depending on the instructor’s involvement).
Don’t worry, though. Once you’re licensed you can jump from as little as $15-$25 per skydive! (Plus gear hire, if you don’t have your own).
Should You Take A Static Line Course?
So with everything covered, you may be wondering if this course is the right option for you.
Being someone who’s been there and got the t-shirt, I’d recommend this type of course to almost anyone. It’s great fun, the training is a nice way to meet people, and the progression is slow and steady.
Static line courses are also the best option if you’re mindful of your budget – being cheaper than big brother accelerated version (AFF). However, it does take more time, and more jumps, to get qualified.
If, instead, you’ve got plenty of budget and want to jump straight from the maximum altitude, then I’d definitely consider an accelerated freefall course.
Finally, for a one-off amazing experience there’s always tandem jumping. This is the most expensive for a single jump, but the training is super minimal and all you need to do is enjoy the ride!
Conclusion
Static line courses are the bread-and-butter of skydiving students. They’re the cheapest, most straightforward way to get into skydiving that are offered at almost every dropzone.
I hope this quick article has helped clear things up about the course for you, and helped you decide if this could be your path to a skydiving licence.
If there’s any other questions you have or anything you’d like me to add, please do comment below!
Thanks for reading, and happy jumping.
Blue skies,
Craig
